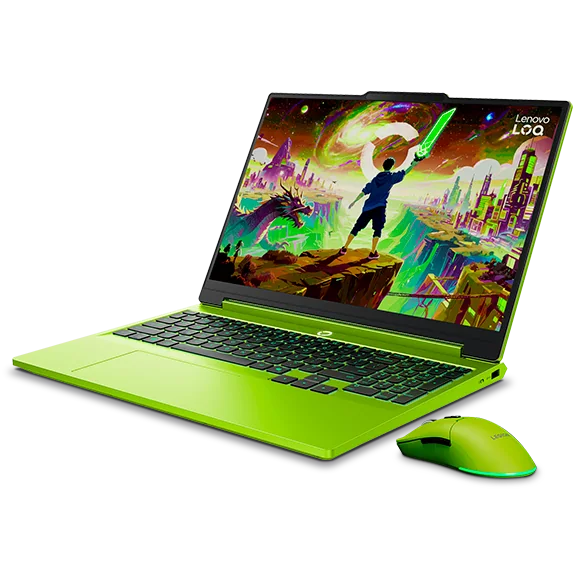
GPU tier and why VR frame timing is different
In VR, your target is not just high frame rate, it is stable delivery. When the GPU cannot keep up, the system may use techniques like reprojection (creating synthetic frames) to reduce nausea, but it can still feel less natural and can add artifacts. That means a "barely enough" GPU can technically run VR while still feeling inconsistent in busy scenes. Also remember that two laptops with the same GPU name can perform differently because of power limits and cooling.
Plan around the headset's refresh rate and the games you actually play. If you want a smoother feel, you need enough GPU headroom to avoid frequent dips. Start by turning down settings that cause sudden spikes: shadows, volumetrics, reflections, and especially ray tracing. Upscaling features can help by rendering the game at a lower internal resolution and sharpening it, which often improves stability more than it hurts clarity in a headset. The practical goal is fewer timing spikes, not perfect visuals.
USB and video output requirements
VR headsets typically need a high-bandwidth video connection and reliable USB for tracking and sensors. On a laptop, the port type is only half the story. You also need the port to be wired to the right graphics path. Some USB-C ports support DisplayPort output, some do not. Some video outputs may route through integrated graphics instead of the discrete GPU, which can limit refresh rates or cause compatibility issues.
Before you buy or commit to a setup, confirm you have the exact video output your headset expects (for example, HDMI or DisplayPort via USB-C). If you plan to use adapters, keep it simple and avoid chaining multiple adapters and hubs. For USB, give the headset a direct port when possible. If you must use a hub, use a powered hub and reserve it for low-risk devices like a keyboard or controller, not the headset's primary connection. Random disconnects in VR are often a USB stability problem, not a GPU problem.
Room setup and cable management for laptop VR
A laptop VR setup needs a stable home base. Put the laptop where it cannot be tugged or knocked, ideally on a desk with clear airflow. Then plan the cable path so it does not cross your feet or wrap around chair legs. A simple approach is to route the headset cable behind you and to one side, then secure slack with a strap or clip so the connector is not bearing the full pull when you turn.
If you use external sensors or base stations, place them so they can see your play area without being blocked by the laptop screen or your body. Keep reflective surfaces and bright direct sunlight in mind because they can confuse some tracking systems. Also think about where your hands will be. A cable that is fine while standing can become a problem when you crouch or reach. A few minutes of cable planning prevents hours of annoyance.
Heat and fan noise considerations for long VR sessions
VR loads both the GPU and CPU steadily, which is exactly when laptops are most likely to hit thermal limits. When that happens, performance drops can show up as sudden discomfort rather than a simple frame rate number. Give the laptop the best cooling chance you can: hard surface, clear vents, and no tight corners that trap hot exhaust. If your laptop has a manual fan or performance profile, choose the one that keeps temperatures stable, even if it is louder.
Fan noise matters more in VR because you may be wearing headphones that amplify low-frequency rumble or you may be using open audio. If noise is distracting, address it with placement and audio choices rather than starving the laptop of cooling. Move the laptop farther away if cable length allows, and use closed-back headphones if you want more isolation. Stable thermals usually lead to stable frame timing, which is the comfort priority.