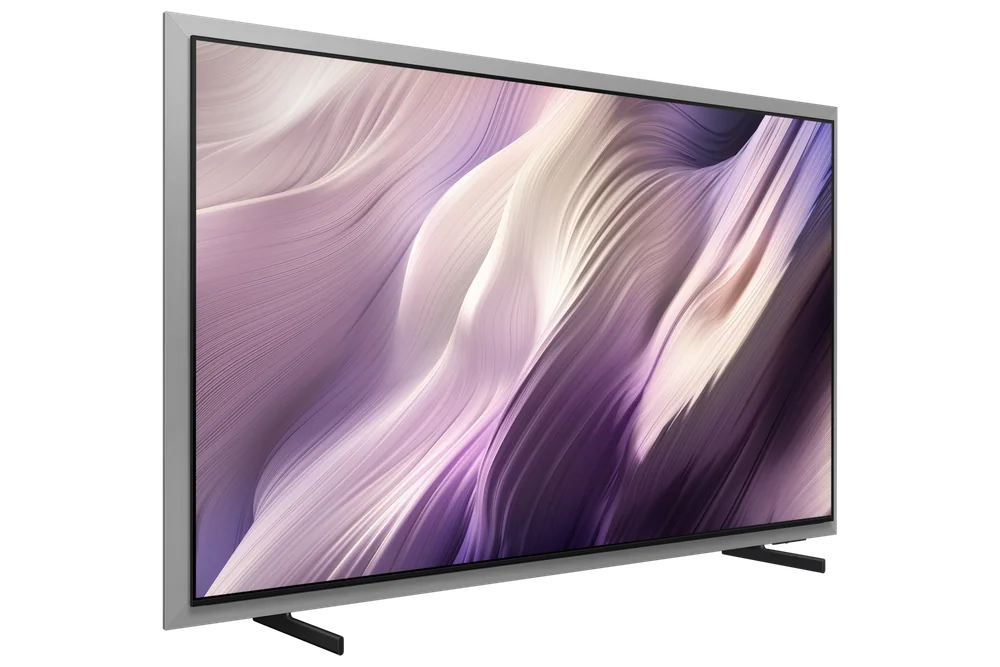
A practical walkthrough for getting a new smart TV unboxed, connected, and set up right the first time.
A new TV sitting in its box feels like the easy part is over, but the next hour decides whether you're watching your first show in twenty minutes or fighting with a login screen at midnight. Most of the friction isn't the hardware, it's the setup sequence: physical placement, network connection, account sign-ins, and picture defaults that were never meant for your living room. Going in order saves you from backtracking. Mount or stand placement affects cable routing, Wi-Fi setup affects which accounts you can sign into, and picture mode should be one of the last things you touch, not the first thing you fiddle with while everything else is still half-configured.
Reading time: 8 minutesBest for: Anyone unboxing a new TV who wants it running smoothly the same evening
Unboxing and physical setup
Lay the TV screen-down on a flat, padded surface, the box's foam packaging works fine, before attaching the stand or mount bracket. Screens this thin flex more than you'd expect, so avoid setting it on a table edge or leaning it against furniture while you work. If you're wall mounting, check the mount's weight rating against the TV's actual weight (listed in the manual, not the box art) and route power and HDMI cables before you lift the TV into place, since fishing cables behind a mounted screen is miserable.
Leave a few inches of clearance behind the TV even on a stand, since the vents there help dissipate heat and a snug entertainment center can shorten the panel's working life over the years. Plug in your soundbar, streaming box, or console now, before you power on for the first time, so the initial setup wizard can detect connected devices and suggest the right inputs automatically instead of you renaming them later.
Connecting to Wi-Fi and signing into accounts
The first boot walks you through selecting a Wi-Fi network and entering a password, and this is where a lot of first-day frustration starts if your router is far from the TV. A weak signal doesn't just slow streaming, it can cause the setup wizard itself to time out or fail to save your account logins. If your living room is a dead zone, consider a wired ethernet connection instead, most sets still have the port even though it's rarely advertised anymore.
You'll be prompted to sign into a Google, Amazon, Samsung, or LG account depending on the platform, and this account is what remembers your app logins, purchase history, and voice profile. Use the same account across devices if you have a phone or streaming stick from the same ecosystem, since it can speed up sign-in for individual apps by pulling saved credentials instead of making you type a password with a remote's directional pad, which is its own small punishment.
Choosing the right picture mode
Every TV ships in a mode tuned to look punchy under bright store lighting, usually called Vivid or Dynamic, and it's almost always too harsh for a home living room. During initial setup, most TVs offer a quick prompt asking if you're setting up for home or retail use, always choose home, it disables the aggressive brightness boost meant to compete with neighboring displays on a showroom floor.
Beyond that first prompt, don't obsess over picture settings on day one. Switch to a Movie, Cinema, or Filmmaker mode as a reasonable starting point, since these are generally calibrated closer to how content creators intended it to look, then plan to revisit fine-tuning once you've watched a few things and know what bothers you, whether that's motion blur, dim shadows, or oversaturated skin tones.
Setting up voice control
Voice setup usually happens automatically once you sign into your platform account, but the microphone permission prompt is easy to miss or accidentally decline while clicking through screens quickly. If voice search isn't responding later, it's worth checking the TV's privacy or microphone settings menu directly rather than assuming the remote itself is broken.
Some TVs support a far-field microphone built into the TV for hands-free commands, while others require holding a button on the remote to talk. These aren't interchangeable, a TV expecting the remote-press method won't respond to shouting from the couch, so it's worth learning which type you have during setup instead of discovering it mid-argument with a customer service line.
What this guide helps you understand
Setup problems on day one are almost always sequencing issues, network weakness, or leftover showroom settings, not signs of a defective TV, so work through the process in order before assuming something's broken.
A stable Wi-Fi connection or ethernet cable near the TV's location
Login credentials for your streaming accounts and platform account (Google, Samsung, LG, etc.)
A flat, padded surface for stand assembly before mounting or standing the TV upright
Technique notes
Check for a firmware update in settings within the first day, TVs often ship with months-old software.
Choosing 'home' instead of 'retail' during setup avoids most of the oversaturated showroom picture problem automatically.
Safety note: Always use a wall mount rated for your TV's weight and have a second person help lift larger screens onto brackets.