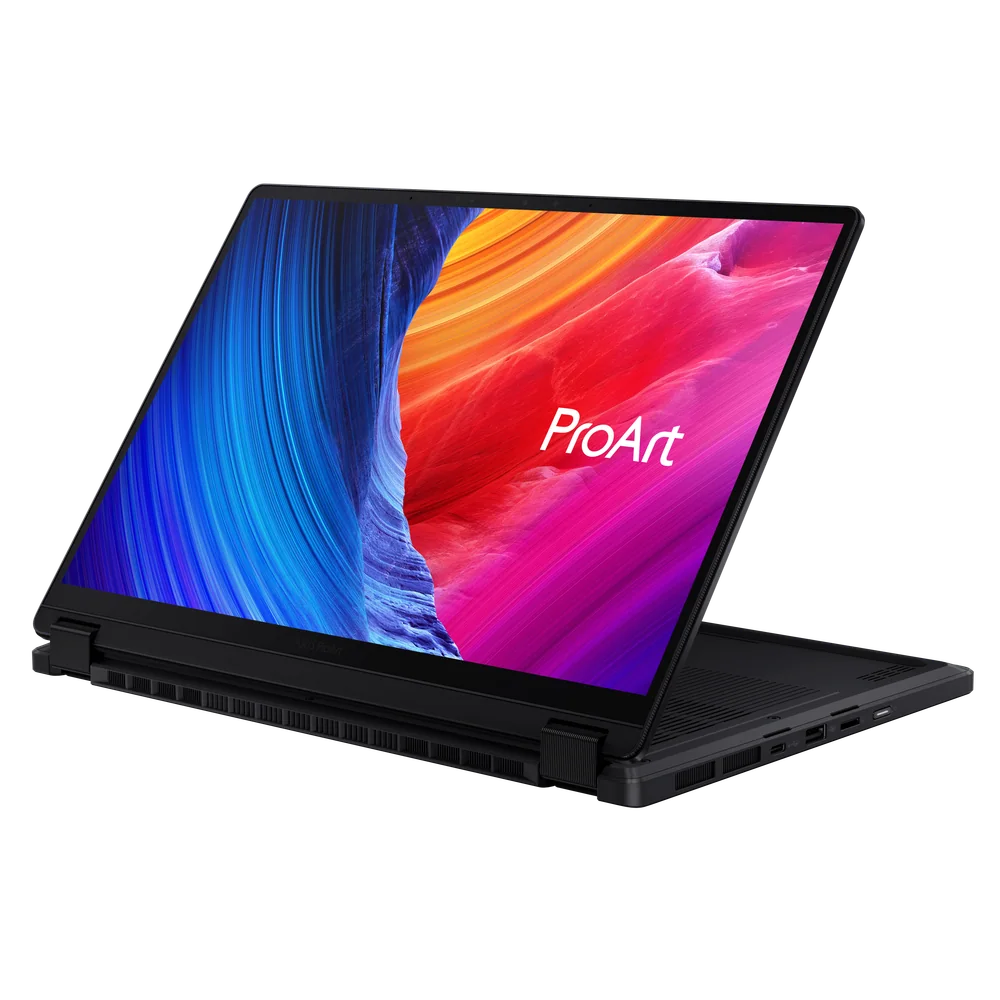
Photo editing laptops: what improves exports, previews, and color
Published
Understand which laptop specs speed up editing and which screen traits help you trust what you see.
Photo editing performance is not just about -fast.- It is about how quickly your laptop can build previews, apply adjustments without lag, and export finished images while staying responsive. A laptop can feel great for web browsing and still feel frustrating in a photo workflow because editing stresses the CPU, RAM, storage, and sometimes the GPU in different ways. The other half of photo editing is the display. If the screen is too dim, too reflective, or inaccurate with color, you end up compensating in your edits and your photos look different on other screens or in print. A good photo laptop balances compute power with a screen you can actually trust, plus a storage and backup plan that protects your library.
Reading time: 8 minutesBest for: Photographers and students editing RAW photos and managing a growing photo library
CPU, RAM, and SSD: where you feel the difference
The CPU (processor) affects how snappy editing feels when you import, generate previews, and export. Many editing tasks are bursty, meaning they spike the CPU for short periods, but exports and large batch operations can run for a long time. A CPU that can sustain performance without overheating finishes big jobs faster and keeps the system responsive while it works. If you often export hundreds of images, CPU capability and cooling matter more than small differences in advertised top speed.
RAM (memory) is what keeps editing smooth when you have multiple large files open, use layers, or keep other apps running. Too little RAM forces the laptop to use the SSD as scratch space, which is slower and can cause stutters. The SSD matters because photo work moves lots of data. A fast SSD improves import speed, preview building, and opening catalogs. Size matters just as much. If your internal drive is always nearly full, performance can drop and you will spend time shuffling files instead of editing.
When a dedicated GPU helps
A dedicated GPU (a separate graphics chip) can accelerate certain editing features, especially those that use GPU-accelerated effects, AI-based selections, noise reduction, and smooth zooming and panning on high-resolution displays. It can also help when you connect high-resolution external monitors. If your workflow includes heavy use of these features or you edit very large files, a dedicated GPU can make the laptop feel more fluid and reduce waiting during certain operations.
That said, a dedicated GPU is not automatically the best use of budget. It often adds cost, weight, and fan noise, and it can reduce battery life. For many photographers, a strong CPU, enough RAM, and a fast, roomy SSD deliver more consistent benefits than stepping up the GPU. If you edit on the go, consider whether you prefer quieter operation and longer battery life over peak acceleration. The right choice depends on how often you hit GPU-heavy tools versus general editing and exporting.
Display color and brightness for editing
For photo editing, the display is a tool, not a decoration. Start with brightness. A screen that is too dim forces you to edit darker than you should, and your images can look too bright elsewhere. Brightness also matters if you work near windows or in classrooms. Next is panel type. IPS screens are common and can look very good with consistent viewing angles. OLED screens can have deep contrast, which is pleasing, but you still need good calibration behavior and enough brightness control for your environment.
Color coverage and accuracy are often marketed loudly, but the practical question is whether you can get consistent results. Wide color can be useful, but only if your workflow is color-managed and you know where your images will be viewed. If you plan to print, consistency matters more than extreme specs. Also consider screen finish. Glossy screens can look punchy but reflect lights, which makes judging shadows harder. A slightly larger screen can reduce fatigue because you can see detail without constant zooming.
External drives and backup workflow
Photo libraries grow fast, so plan storage like a system. Keep active projects on the internal SSD for speed, then move completed work to an external SSD or a larger external drive. External SSDs are great for current shoots and travel because they are fast and handle bumps better than spinning drives. For long-term storage, capacity and organization matter. Use a clear folder structure by date and project, and keep your catalog and originals in locations you can explain to your future self.
Backups are non-negotiable for photos because reshoots are often impossible. A simple approach is: one working copy on the laptop, one local backup on an external drive, and one additional copy stored separately (often cloud, depending on your upload speeds and budget). Make sure your backup method keeps older versions, not just the latest state. If you accidentally delete a folder and the deletion syncs everywhere, version history or a separate backup is what saves you.
What this guide helps you understand
A photo editing laptop feels good when previews build quickly, edits stay smooth with multiple files open, and the screen is bright and consistent enough that you are not guessing at exposure and color.
Choose enough RAM and SSD space for your current library plus growth, and confirm the display brightness and finish fit where you actually edit (home desk, classroom, or travel).
Technique notes
If you use an external drive for active work, label the cable and drive, and keep a short routine for safe ejecting to avoid corrupted catalogs.
Safety note: Keep at least one backup copy physically separate from your laptop bag so a single loss does not take the laptop and the backup together.