
Pickori

Care

How to clean a gas cooktop without damaging burner parts

A repeatable cleaning routine keeps grates, burner caps, and igniters working while avoiding finishes that scratch or discolor.

Reading time: 8 minutesBest for: Gas cooktop owners who want a simple routine that keeps ignition and flame performance consistent
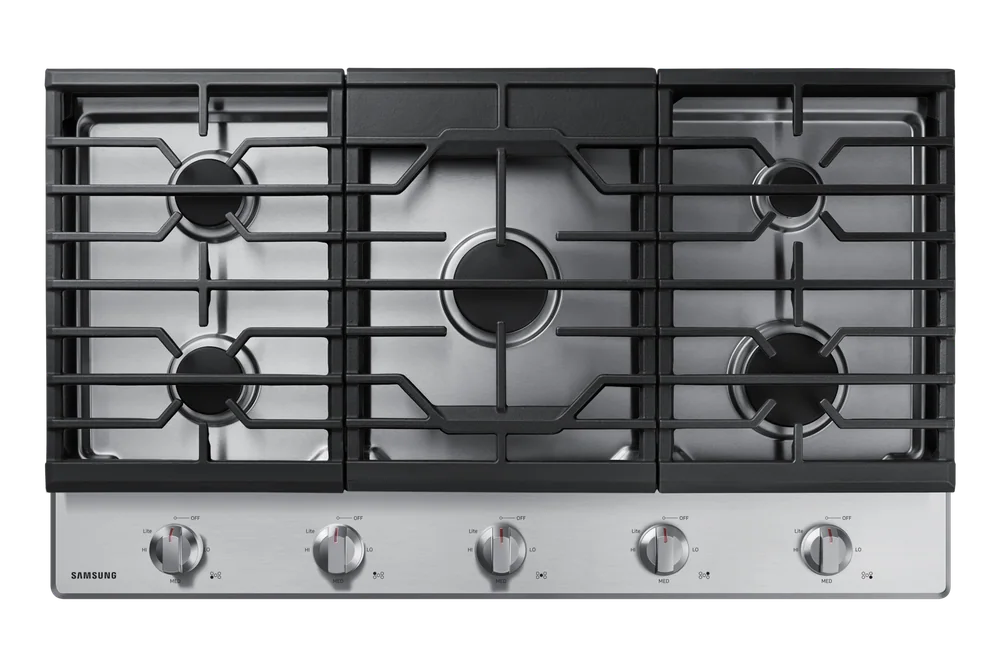
Samsung NA36R5310FS 36-inch Gas Cooktop

Daily wipe-down that prevents baked-on grease

After cooking, let the surface cool until it is safe to touch. Remove loose crumbs, then wipe with a damp cloth or sponge and a small amount of mild dish soap. Focus on the areas around the burners and the front edge where oils collect. If you catch splatters early, you avoid the hard, sticky layer that turns into smoke and odor the next time you cook. Do not flood the surface with water. On many cooktops, liquid can run toward igniters (the small spark point) or into seams around burner bases. A lightly soapy wipe followed by a clean damp wipe, then a dry towel, is usually enough for daily care. Drying matters because moisture around the igniter can cause repeated clicking or delayed lighting.

Cleaning grates, burner caps, and sealed burner areas

Grates and burner caps usually lift off. Take a quick photo first so you remember the orientation, especially if the caps look similar. Wash grates and caps with warm water and dish soap, using a non-scratch pad or brush. For greasy buildup, let them soak briefly, then scrub. Rinse well and dry completely. A damp burner cap can cause weak ignition or uneven flames. For sealed burners (common on many gas cooktops), wipe the area around the burner base with a cloth and a soft brush for crevices. Avoid pushing debris into gas ports (the small holes where flame comes out). If you see clogged ports, use a wooden toothpick or a soft brush to clear them gently. Metal picks can enlarge holes or scratch surfaces, which can change the flame pattern.

What to avoid: harsh abrasives and soaking mistakes

Avoid harsh abrasives, steel wool, and aggressive scouring powders on enamel, stainless, or coated surfaces. They can leave fine scratches that hold onto grease, making the cooktop harder to clean over time. They can also dull glossy finishes and permanently haze stainless trim. If you need more bite, step up to a non-scratch scrub pad and patience, not a sharper tool. Also avoid soaking parts that should not be soaked. Some burner assemblies include components that do not like prolonged water exposure, and soaking can trap water where it is hard to dry. If your cooktop has removable burner heads beyond the caps, check the manual before submerging anything. When in doubt, wash, rinse, and dry rather than long soaking.

Fixing uneven flames after cleaning

If flames look uneven, yellow, or "lazy" after cleaning, start with the simplest cause: parts not seated correctly. Turn everything off and cool. Reinstall burner caps so they sit flat and centered. A cap that is slightly off can distort the flame ring and make one side burn higher than the other. Then make sure grates are sitting in their proper notches so pans sit level. If the igniter keeps clicking or the burner lights slowly, moisture is often the culprit. Dry the area thoroughly and give it time to air out. If a burner still looks uneven, check the burner ports for debris and clear them gently. Persistent yellow flames can also point to airflow or gas supply issues, which are not cleaning problems. In that case, stop troubleshooting and get service.

What this guide helps you understand

Gas cooktops stay reliable when you clean lightly but consistently, keep water out of igniter areas, and always reinstall burner caps flat and centered so the flame ring burns evenly.

Before cleaning, confirm the cooktop is off and cool. After cleaning, confirm burner caps are fully dry and seated flat before lighting.

Technique notes

Taking a quick photo of burner cap placement before you remove parts can save time and prevent misalignment that causes uneven flames.

Safety note: If you smell gas, do not try to light burners. Turn controls off, ventilate the area, and follow your gas provider or appliance service instructions.

More cooktops help

← Back to Cooktops