Why static happens and when it gets worse
Static builds when dry coffee particles rub against surfaces and separate charge, especially plastic. Low humidity makes it worse because charge dissipates more slowly. Very light roasts can also increase static because they are harder and can shatter into more small particles that cling. If you single dose (weigh beans per brew and grind them all at once), you may notice static more because the grinder is often emptier and airflow can toss grounds around.
Static is easy to confuse with retention. Retention is coffee that stays inside the grinder after you grind. Static is coffee that leaves the grinder but clings to the outside of the chute, cup, or lid. In practice they stack up: static makes grounds stick near the exit, then a later grind knocks them loose, which looks like the grinder is randomly spitting coffee. Reducing static makes dosing more consistent and keeps yesterday’s grounds from showing up in today’s cup.
Chute design, dosing cups, and anti-static features
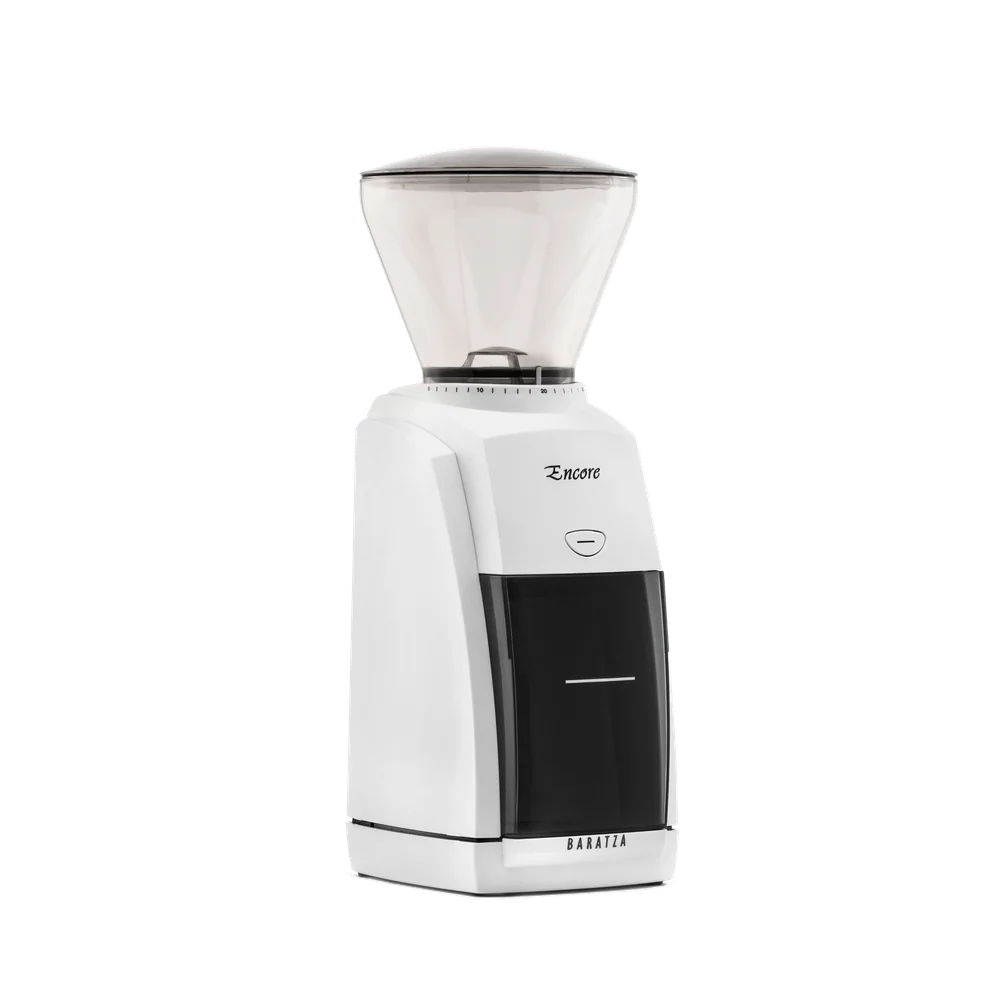
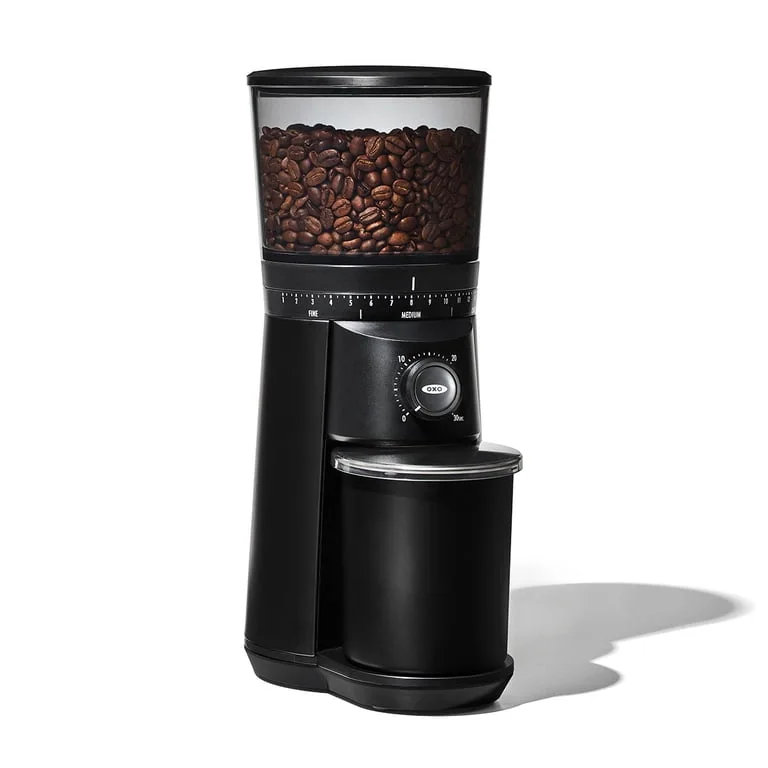
Chute design matters because it controls how grounds exit. A narrow, well-aimed chute that drops straight down tends to be cleaner than a wide opening that lets grounds fan out. Some grinders use metal parts near the exit, which can reduce cling compared with all-plastic exits. A snug-fitting dosing cup (a small cup that matches the grinder’s exit) helps because it catches grounds before they can spread, and it reduces the distance grounds can drift.
Anti-static features vary. Some are simple, like a grounded metal path or a small declumper (a screen or flexible piece that breaks up clumps). These can help, but they can also become a place where oils and fines build up, which eventually causes more mess and stale smells. When you evaluate -anti-static- marketing, look for practical signs: does the grinder include a cup that fits well, does the exit path look short and direct, and can you access that area for cleaning without a full teardown.
Workflow habits that cut mess
Start with positioning. Put the grinder on a stable surface, center the cup, and avoid holding the cup at an angle where grounds can ricochet out. If your grinder allows it, grind at a steady pace instead of pulsing the motor on and off, which can puff grounds outward. After grinding, wait a second before removing the cup so any loose grounds can fall. Then tap the cup gently on the counter to settle grounds before you pour.
A practical trick for static is adding a tiny amount of moisture to the beans before grinding. The simplest method is to lightly dampen a spoon handle or fingertip, stir the beans briefly, then grind. You are not trying to wet the beans, just reduce charge. This can dramatically cut cling in dry conditions. Do not add enough water to leave droplets in the hopper or burr area. If you store beans in a hopper, avoid adding moisture directly into the hopper. Single dose the portion you will grind.
Cleaning the exit path so grounds stop spraying
Mess often increases over time because the exit path gets coated with coffee oils and packed fines. That buildup narrows the chute and creates ledges where grounds stick, then break free in clumps. Regularly clean the area you can reach: the chute opening, the cup holder area, and any removable declumper parts. A small brush is usually enough for daily or weekly upkeep, depending on how oily your beans are.
For deeper cleaning, unplug the grinder and remove parts that are designed to come off, like the hopper, upper burr carrier, or chute cover (if your grinder provides access). Clean out compacted grounds, especially around the exit. Avoid washing burrs with water unless the manufacturer specifically allows it, because trapped moisture can cause corrosion or clumping. After reassembly, grind a small amount of coffee to clear any loosened dust before you weigh doses for brewing.