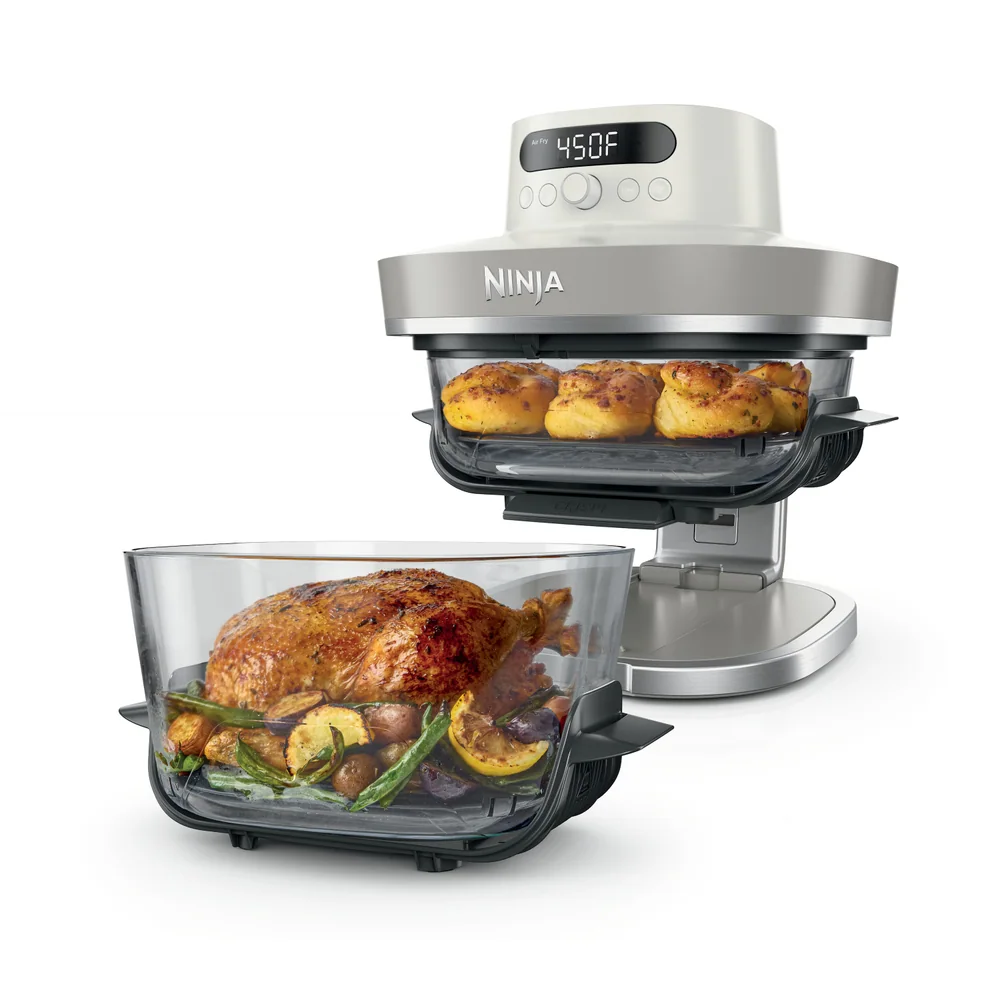
A careful first setup helps an air fryer cook evenly, vent heat properly, and stay easier to clean.
Reading time: 8 minutesBest for: New air fryer owners setting up a basket or oven-style unit
Choose a stable, heat-safe counter location
Place the air fryer on a level, sturdy counter that can handle heat and is close enough to an outlet that the cord reaches without stretching. Keep the appliance upright, with its base fully supported. Avoid unstable carts, the edge of a counter, or surfaces where a pulled-out basket could tip or where an open oven door would hang unsupported.
Think through the working space, not just where the appliance sits when closed. Drawer-style models need clear space in front for the basket and handle. Oven-style models need room for the door to open and for hot racks or trays to be removed. Keep paper towels, food packaging, dish towels, and other loose items away from the cooking area.
Check clearance around vents and cabinets
Find the intake and exhaust vents before plugging in the air fryer. Many basket models vent from the rear, while oven-style units may release heat from the back, sides, or top. Leave open space around those areas according to the appliance instructions so the fan can move air and heat does not build up against a wall or cabinet.
Also check the space above the appliance. Heat and steam can collect under low cabinets, especially when cooking fatty foods or opening a hot basket. Do not place the air fryer beneath anything that could be damaged by heat. If you plan to store it under a cabinet, let it cool completely before moving it.
Wash the basket, crisper plate, racks, and trays
Remove all packaging, labels, cardboard inserts, and protective materials. Then wash every removable food-contact part, including the basket, crisper plate, racks, trays, and rotating accessories if included. Use warm water, mild dish soap, and a soft sponge. Dry the parts thoroughly before putting them back in place.
Do not immerse the main appliance body, heating area, cord, or control panel. Wipe the exterior and accessible interior surfaces with a damp cloth, then dry them. Make sure the crisper plate sits flat in a basket and that racks slide into their intended positions. A poorly seated insert can affect airflow and make food cook unevenly.
What to expect from a first heating cycle
A new air fryer may give off a light manufacturing odor during its first heating cycle. This usually fades as the appliance warms up and any residue from production or packaging dissipates. Run the empty appliance briefly at a moderate to high cooking temperature in a well-ventilated kitchen, following the instructions for your specific unit.
After it cools, check that there is no remaining packaging material and wipe the removable parts again if needed. For the first food batch, choose something simple and forgiving, such as frozen fries, vegetables with a light coating of oil, or small pieces of seasoned chicken. Use a modest portion so you can observe how quickly the appliance browns food.
What this guide helps you understand
Set up the air fryer where it has stable support, open vent space, and enough room to safely handle a hot basket, door, or tray. Then begin with a small, uncrowded batch so you can learn its cooking pace.
Measure the counter area, overhead cabinet space, and the full path of the open basket or oven door before choosing a location.
Wash and dry all removable cooking parts before the first use.
Keep vents unobstructed during operation.
Technique notes
A first-use odor can occur during an empty heating cycle and should fade with ventilation and normal use.
Presets are starting points. Check food early until you know how your air fryer cooks.
Safety note: Keep the air fryer on a stable heat-safe surface, keep vents clear, and use care around hot baskets, trays, steam, and grease.